

In this guide you will learn how to create a simple Node-RED flow that uses the “inject” and “debug” nodes.
What is Node RED?
Node-RED is a visual tool for wiring the Internet of Things developed by IBM Emerging Technology and the open source community. Using Node-RED, developers wire up input, output and processing nodes to create flows to process data, control things, or send alerts. It works by allowing you to wire up web services or custom “nodes” to each other, or to things, to do things like:
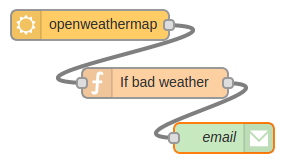
- Send an email on a rainy weather forecast.
- Push sensor data to services like Twitter.
- Perform complex analysis on data with ease.</li?
 If you’re new to Node RED you might find our Introduction to Node RED tutorial very helpful.
What is FRED
Front End for Node-RED (FRED) manages instances of Node-RED for multiple users in the cloud. We manage and optimize your instance of Node RED so you worry about accomplishing your project, not setting up and maintaining your Node-RED instance.
Create a FRED Account
To begin our tutorial create your own Node-RED instance in the cloud. Register for a free account at http://fred.sensetecnic.com.
After registering make sure to activate your account via your email. You will not be able to login until you validate your account.
Creating your first flow.
After you register for FRED, or after you login, you will be presented with an empty canvas like this one.
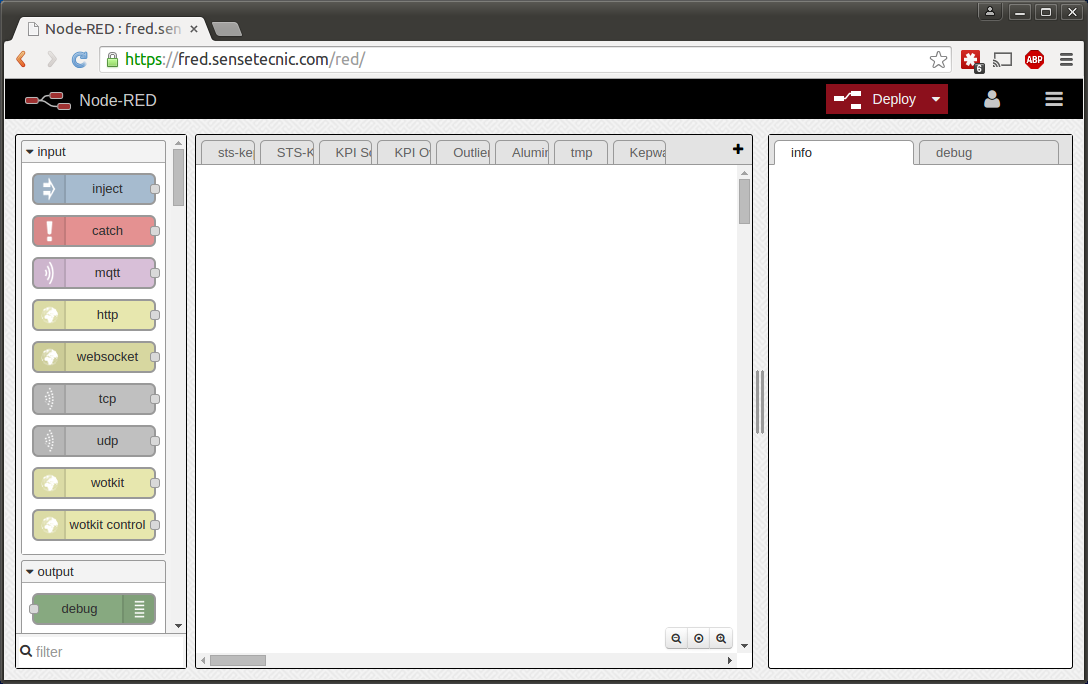
On the left pane you will have a selection of pre-installed “nodes” that have either data “inputs” (white square on the left of the node), “output” (white square on the right of the node) or both. To create your first node simple drag the “inject” node found under “input” onto the canvas.
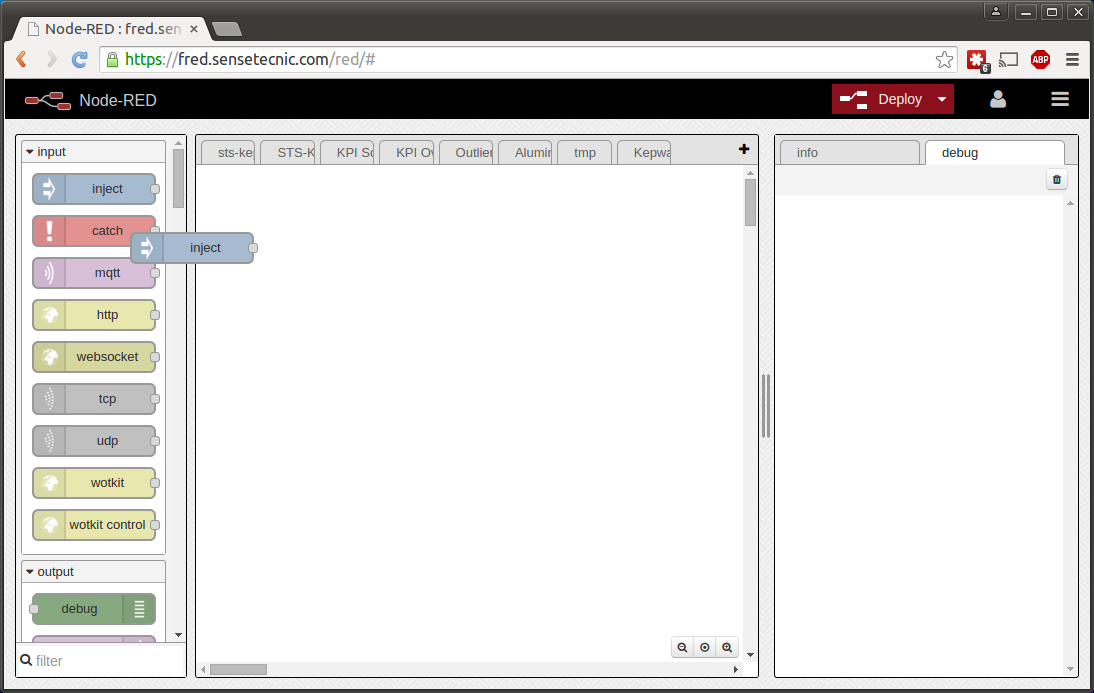
And then drag the “debug” node found under “output”. Now drag a line from the output of the inject node (blue) to the input of the debug node (green).
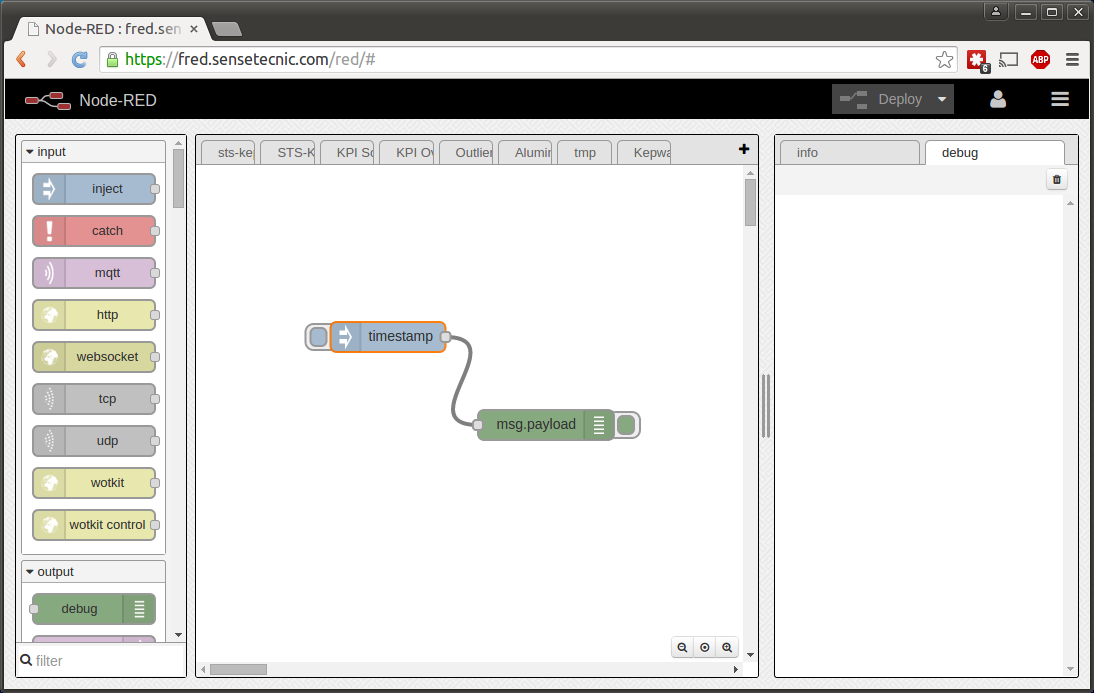
If you double click on the debug node you will be presented with a modal window that allows you to edit the node. Notice how the current “payload” of the inject node is set to timestamp. When you connect nodes you merely pass messages between them. The structure of messages are Javascript objects (JSON) in the following format:
[javascript]
msg = {payload: “something”}
[/javascript]For now, lets keep the payload set-up to the current UNIX timestamp:

You’re done. When you click on the inject trigger button you can see the output of the debug node on the debug window to the right:
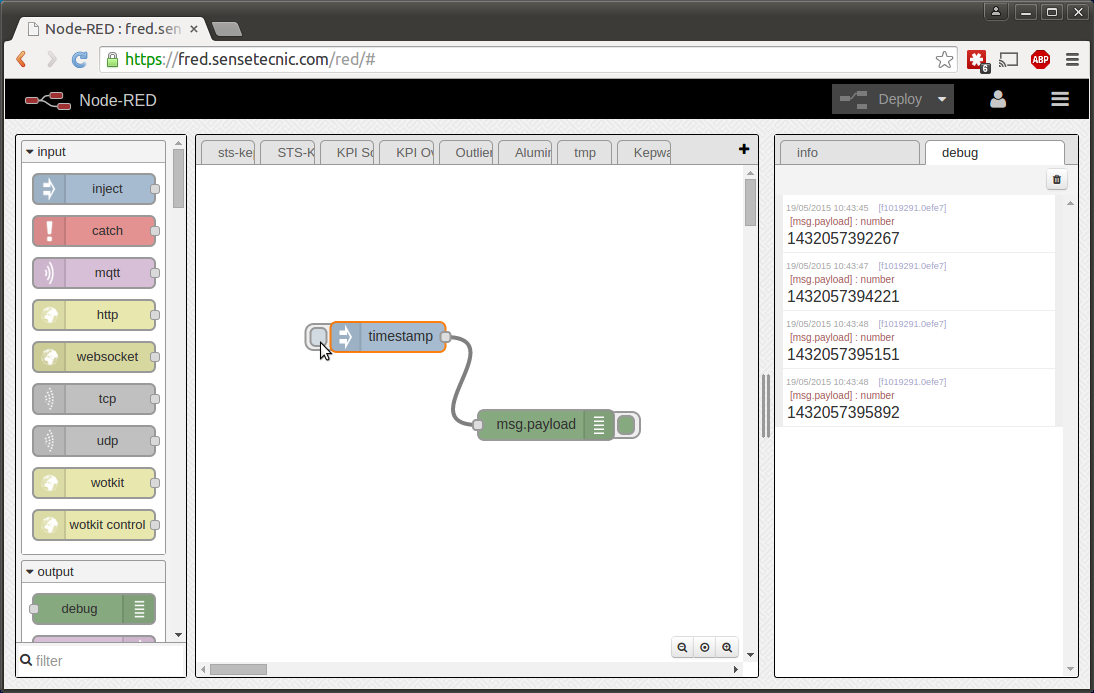
Now click on the top right button that says “Deploy” to deploy your flow. That’s it!
Although this flow doesn’t do anything outstanding you’re on your way to creating IoT applications in seconds!
I understand FRED can’t act as a broker server, but are there nodes for an mqtt CLIENT? i.e. if using an external broker server (ex. eclipse, adafruit, or on my local machine via mosquitto), can a node-red flow hosted on FRED subscribe and do something (send email, sms, etc)?
Yes, FRED has the usual MQTT, HTTP, Websockets etc – so you can write FRED flows that interact with external services. The only restrictions when using FRED – which is a cloud based Node-RED service – is you can’t use nodes that are hardware dependant, eg gpio or serial. This is because the cloud server doesn’t have those hardware features.
Check out our lecture series to understand these issue better: http://noderedguide.com